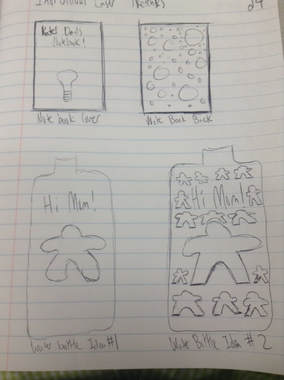
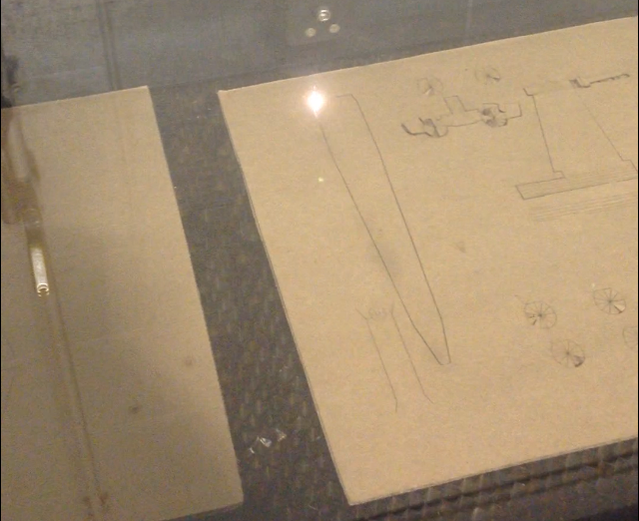
 Initial Sketches in Designer Notebook
For this project we made a water bottle, a notebook, and a 3D object made out of the laser cut material. I sketched both my water bottle and my notebook design in my designer notebook, but because I got my design for my 3D object off of Thingverse, I did not sketch the design before hand.
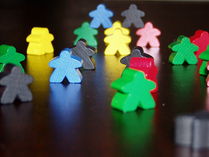 Meeple Examples
First, I worked on my water bottle. I made sure to make the art board of Illustrator 5.5" by 9" so that my design would fit onto the water bottle. I wanted to make a water bottle for my mom, so I had the words Hi Mom! on the water bottle first and then I started to add little "meeples" to the design. (Meeples are board game pieces that are basically little wooden or plastic shaped people that were first made famous by the board game Carcassonne.) After I was finished, I then rotated my design so that it would fit onto the water bottle properly. I did this by selecting Ctrl A, Object, Transform, and then Rotate. Then, I held shift to change the whole designs size. I did this to make sure that my design fit the entire art board, because otherwise some of the design would not be engraved onto the water bottle.
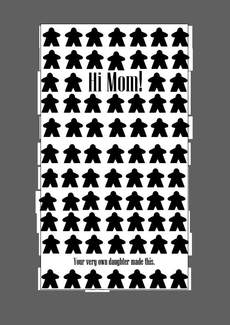
Water Bottle Design
|
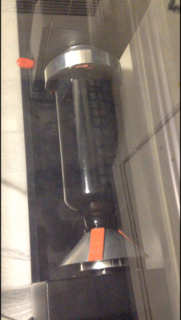
Water Bottle on Rotational Jig
|
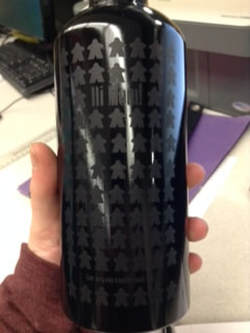 Finished Water Bottle!
Because I was engraving a water bottle, I used different set up procedures for setting up the laser than I did for the other two projects on the laser; we used the rotational jig to engrave the water bottle. In order to use the rotational jig, I put the water bottle in between the rubber on the jig. I then moved the jig closed with my left hand pushing at the bottom of the jig. Then, I used my right hand to tighten and center the water bottle. Once the water bottle was in place, I moved the laser (after making sure the exhaust was turned on) using the relocate tool to the middle of the water bottle. Then, I relocated the image to this point. I then moved the laser to the top and bottom of the image to make sure the design was completely on the water bottle. Then I started to engrave my design.
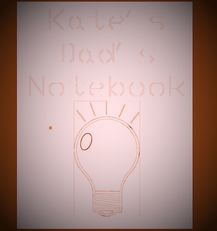 My cover design (with a filter added to make the design more visible). My cover design (with a filter added to make the design more visible).
Then, I worked on my notebook. I made sure to make the art board in Illustrator 4.25" by 5.5" so that my design would fit onto the notebook. I wanted to make my notebook for my dad, so I asked him what he would want on a notebook. He said he wanted a Notebook that said "Kate's Dad's Notebook" so I designed this cover with a picture of a light bulb added to it. Then, I took a generic black and white background and made the design entirely in red (with .001 stroke for everything) so that the design would have all the hole's cut out.
|
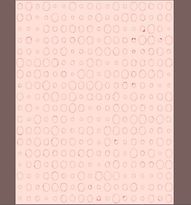
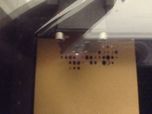
My back design (with a filter added to make the design more visible).
Notebook Back on Laser (2)
|

Notebook Cover
|
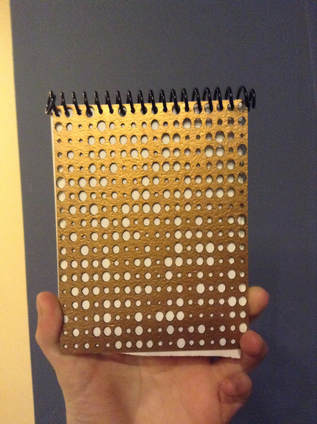
Notebook Back
|
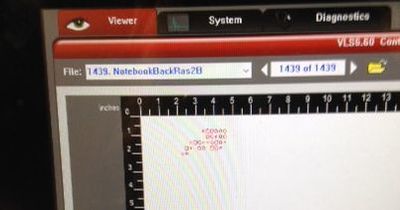
Design in Illustrator (with filter added to make design visible)
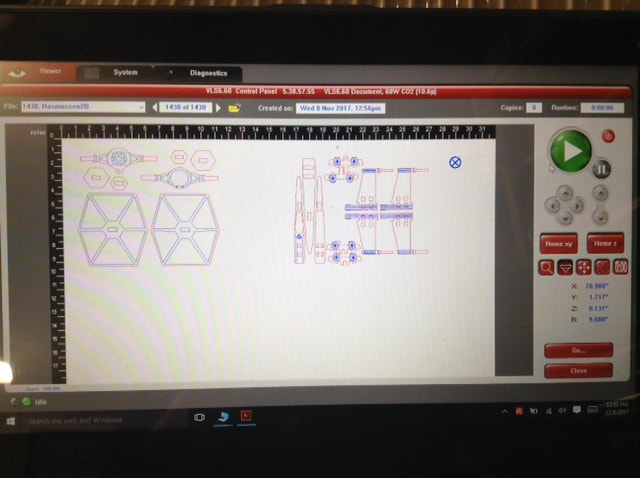
Design in UCP
|
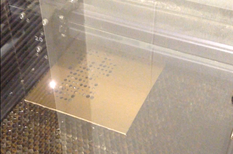
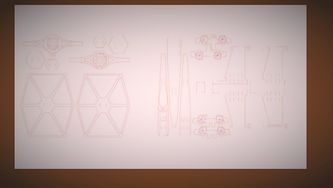
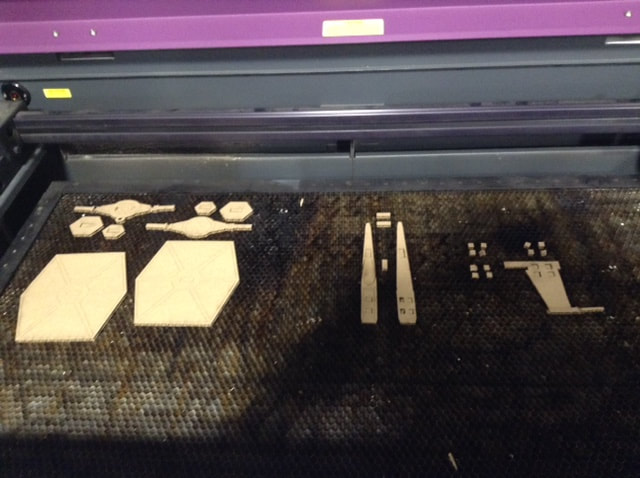
For my 3D project, I found a design for laser cut X-Wing and Tie Fighter ornaments on Thingverse. After downloading this design, I quickly realized that the portions of the design that were supposed to be laser cut were in black rather than red. However, there were portions of the design that were only supposed to be engraved rather than cut, so I had to go through and change all of the portions that were supposed to be cut individually rather than just changing the whole design at once. After doing this, I changed the stroke size to .001 for the whole design and then my design was ready to be laser cut!
|
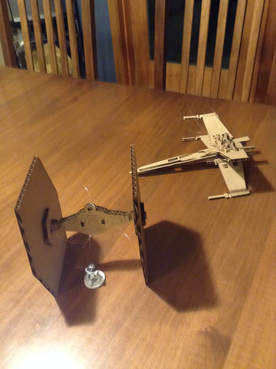 Put together 3D object
In this project I learned how to use the rotational jig for the laser. I also learned about the importance of triple checking the thickness of the material used due to hearing of my classmates accidentally having their cardboard catch on fire. This also made me realize just how important it is to stay by the laser the entire time the laser is printing (and watch the laser, not just stand by the laser). I also reinforced how to use tools in Illustrator (such as how to change the color of specific lines and not filling in the middle of lines) and how to load things into the UCP. Finally, I also realized how important it is to check that a design will fit onto the material in the laser after my 3D design repeatedly did not fit into different sizes of cardboard (I ended up using two different pieces in one print for the tie fighter and x wing).
