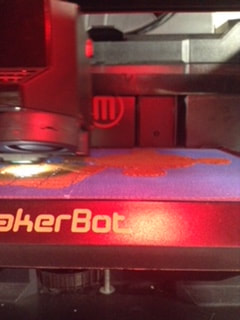
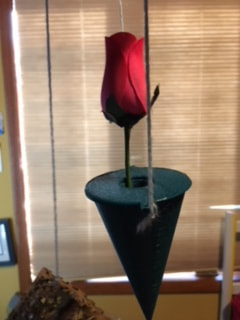
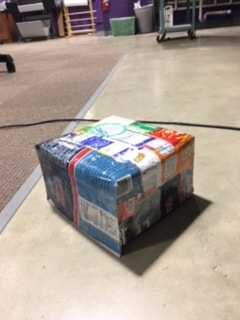
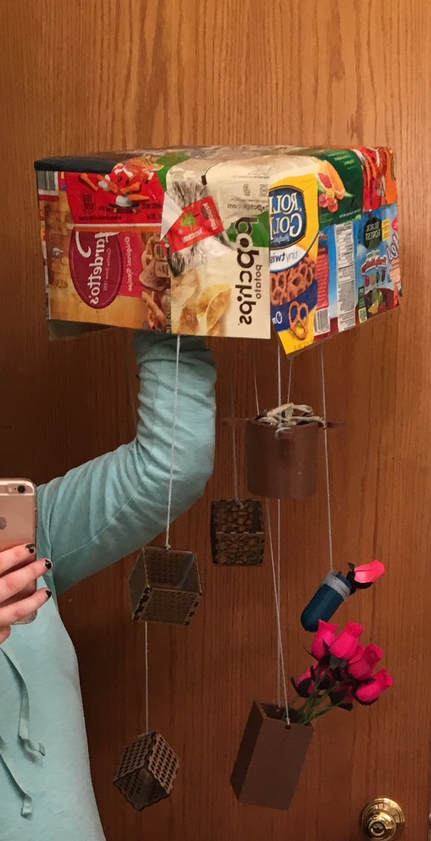
For this project, Sierra and I decided that we wanted to make a lampshade with hanging plants under it. In order to do this, we had to make plant holders to hang. We spent several days creating and printing these plant holders with the 3D printer. I made the artsier cone and cylindrical shaped holders in inventor while she made the larger, sturdier designs. We then printed each other's designs and started to work on other hanging objects for our project. While Sierra went to work with the vinyl cutter, I went on Thingverse and used a few designs to laser cut so that they could hang alongside our plants. After cutting out multiple designs in the laser, we then started to create the lampshade. After some trial and error, we eventually glued our pieces of garbage to a large piece of paper and then laminated that piece of paper to create a classy looking lampshade. Then after this, I assembled my laser cut pieces, added a lamp under the lampshade, and tied everything to the bottom of the lampshade.
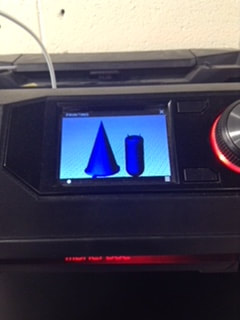


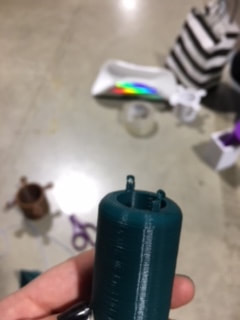
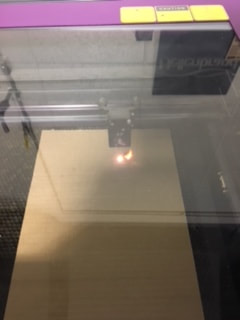
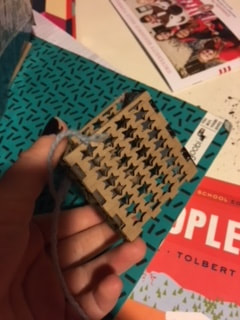
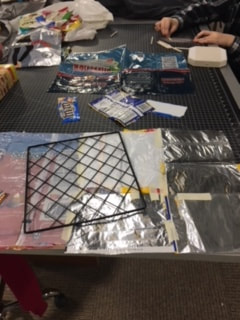
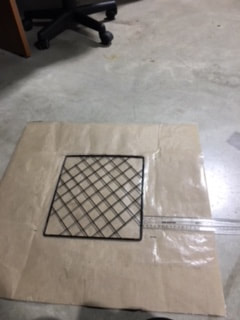
I learned to not make my holes in Inventor too small when 3D printing objects; the holes for my cone design broke off after spending a week in a locker. To combat this, I wrapped some of the string I was using around the top of the design, but if I were to do the project over again, I would definitely make the holes larger. I also learned that certain things in Inventor don't translate to Makerbot and 3D printers; in inventor I had the cone completely covered in swirled ridges, but in Makerbot they were never shown. I learned firsthand why we are supposed to stay next to the laser when cutting projects; I burned at least 3 pieces of cardboard (some of them I burned twice!). Finally, I learned how to use an entirely new machine for this project. I had never used the laminator before, but now I've helped laminate two sheets (that were the largest size the machine can handle) for this project.
|
|
